Wall shelves can be beautiful and practical, as they’re far more accessible to install than cabinets.
Please list the required shelf lengths and take them to a DIY shop for cutting. Or you could use a circular saw and cutting guide yourself!
Design
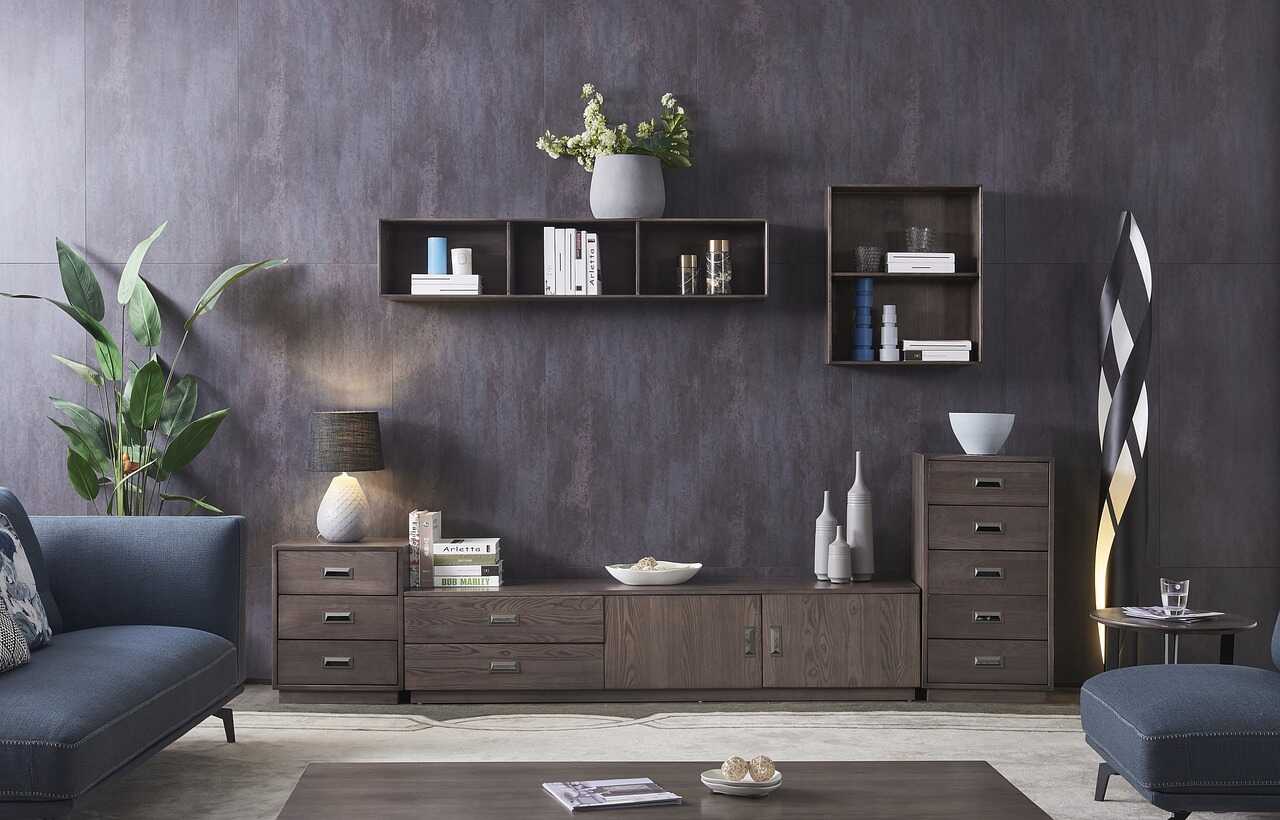
Wall shelves provide an elegant solution for displaying trinkets, decorative items, and books in your home’s decor. Made from various materials and explicitly customized to match any interior style, wall shelves can add stylish storage solutions that suit any home’s decor. However, it is essential that they can bear the weight of their contents without becoming unstable when attached securely to walls – To prevent your shelves from sagging, it is recommended to use thick timber that won’t bend under pressure while using a stud finder to locate wall studs and anchor them securely to wall studs if necessary.
Begin by determining the number and sizes of shelves you plan to build. A long frame may be best suited to holding multiple books, while short shelves could store smaller objects like plants and vases. Once your design has been determined, select materials – wood is often chosen, while MDF offers similar strength at less expense.
Once you have decided upon your material, measure and mark the positions for bracket holes on each shelf board’s backside. After scoring, drill a pilot hole in each mark before using wood glue with clamps to secure each panel to its brackets – once dry; you can take down clamps and screw in screws to attach your panels permanently to their brackets – repeat this process for each shelf level until all shelves are assembled; after installation paint or stain as desired to complete your decor!
Materials
The type of wood used to craft wall shelves will directly affect their weight-support capabilities. Ideally, frames should be constructed from solid wood for optimal strength; however, alternative non-wood options such as MDF can serve as cost-effective substitutes that can still be customized and finished to match any design aesthetics of the shelves.
When building shelves, taking time and measuring carefully to avoid issues or rework later on is essential. In addition, safety goggles must always be worn when using power tools like saws.
Once you have all of the materials for building shelves, it’s time to assemble them. Make a frame using a level to ensure it’s straight and square before cutting the side and brace pieces to the desired lengths. Then, sand off any rough edges or corners before using wood filler to smooth any imperfections.
Once your frame is assembled, it’s time to add supports. Start by using a stud finder to locate any studs near where you wish your shelf to go; mark these locations using a pencil. After you have found all your studs, screw in wood brackets using either a drill or power screwdriver.
Preparation
Before beginning to build wall shelves, it is essential that you first check that there are no sockets or switches directly above where you wish for the shelves to go. Also, ensure that studs are 14-1/2 inches apart for support; then, using a stud finder, mark where your frame will go using one of the 1”x 2” strips of wood at your chosen spot using a trim level as you nail in each shelf you need to be hung.
Before nailing or screwing any pieces together, sand down any rough edges to give your shelves a smooth finish. After the sanding process, stain or paint your frames a color that complements your home’s aesthetic, or opt for natural wood looks by leaving them unfinished for an authentic appearance.
If you don’t feel up to building a wooden frame shelf, other hardware, such as French cleats, are available, which will hold more weight and look fantastic when mounted to your wall. They require more precision and work than simple wooden shelves, though!
Finish your shelf in style by painting it a bold hue for an eye-catching display, leaving it plain for a modern aesthetic, or adding oil-based polyurethane for additional protection and durability. When complete, fill your new display shelf with ornaments, books, and other items!
Assembly
Step Two of Building Wall Shelves involves assembling the main frame or brackets to support your shelving using essential carpentry tools and a drill. Use a level to ensure the shelf or rack is level and centered over at least two different studs before screwing into place with wood screws anchored into multiple different studs of wall studs.
Once the wood brackets have been mounted to the wall, it’s time to begin assembly of your shelving. First, cut the side boards to your desired length; use a framing square and pencil to mark where each shelf will go on each board, creating a visual guide where dados should be cut. We used a router with a straight bit, but other methods can also be employed to achieve this result.
Assemble the frame by applying wood glue and nailing with a pneumatic brad nailer on the first 5-x5-inch piece, attaching two long pieces using this method, and adding one 1×2-inch strip at its base using a level. Finally, nail it into place from above down.
Repeat this process for each shelf, taking care to evenly space and level them with each. When all are completed, caulking and putting any holes or gaps may be beneficial in keeping water out.
Installation
Building a bare wall shelf shouldn’t be difficult for someone with limited carpentry experience, provided you plan carefully and have the appropriate tools – including a stud finder (a handheld device that either displays a light or beeps when placed over wall studs), tape measure, hammer and drill as well as any shelving hardware necessary. Purchasing anchors explicitly designed for that load type would also be beneficial when mounting heavy shelves.
Begin by selecting a location for the shelves and marking it with chalk or pencil. Aim to position the lowest frame 10 inches above the floor, depending on the height of your artwork and decorative items. Next, locate and mark wall studs using your stud finder; otherwise, if installing shelves without them, use hollow-wall anchors that match their weight to secure them to the walls.
Install your first shelf at its desired height and center over an adjacent stud using a spirit level to balance its top edge against a horizontal line against the wall. Repeat this step for each subsequent shelf to ensure they remain perfectly level.
Once all shelves have been attached to their brackets, drill with a 1/8-inch-diameter bit to drill holes at each marked spot. Be careful not to dig through all parts of the frame, as doing so could split its wood. After hitting each hole, drive screws through figure eight on the back of each bracket into the wall to secure its location.